The Product Pass feature allows companies to create public-facing product pages that can be accessed by scanning QR codes attached to products.
When a user scans the QR code, they are redirected to a landing page containing product and batch specific information, company details, and additional related products.
Users subscribed to the Product Pass module have access to the following features:
- Product QR codes - each QR code scheme is linked to a specific Article and generates a landing page that displays selected product information when scanned
-
Public Company Profile - allows you to present your company information on the public landing pages accessed through QR code scans of all Product Pass QR Codes
- Editing and previewing Public Company Profile
- Editing and previewing Public Company Profile
-
Further Products - showcase additional products on your product landing pages to promote other items from your product line and encourage cross-sales
You can access these features from the Product Pass menu in the top navigation bar.

Product QR Codes
Under Product Pass > Product QR Codes, you can create and manage QR code schemes for your products.
Each QR code scheme is linked to a specific Article and generates a landing page that displays selected product information when scanned.
On the Product QR Codes page, you can:
-
View all created QR code schemes

-
Access archived schemes in the Archive tab
-
See how many Article batches are linked to each scheme
-
Track the number of scans for each QR code
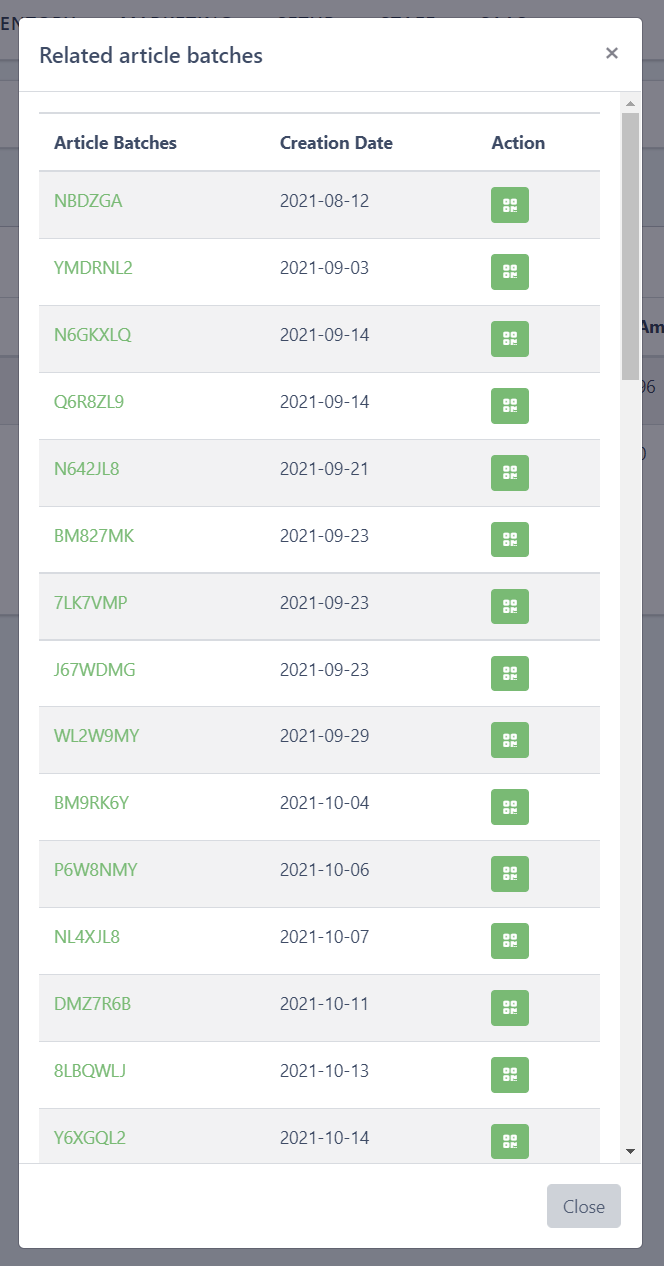
The Related column shows how many article batches are connected to that scheme.
Clicking on this number opens the list of related article batches and their respective QR codes.
Creating a Product QR Code Scheme
To create a new QR code scheme:
-
-
Go to Product Pass > Product QR Codes
-
Click the green + QR Code scheme button

-
The Create a landing page for an article window will open
-
Fill in the following information:

-
-
Select Article: Choose the Article for which you want to create the QR code scheme.
- Price: You can optionally define the product price that will be displayed on the landing page.
- Description: Add a short description of the product (maximum 250 characters).
-
-
- Bullet Points: You can add up to four bullet points highlighting key product features or selling points. These can be used to display information such as:
-
-
-
Product characteristics
-
Unique selling points
-
Key benefits
-
-
Upload a main image of the product: Recommended size - 800 × 800 pixels.
- Gallery: You can upload additional images that will appear in the product gallery on the landing page.
-

- Button Text: Enter the text that will appear on the call-to-action (CTA) button.
Example:
Go to online shop
Maximum length: 30 characters
-
-
CTA Button Link: Insert the URL where visitors will be redirected when clicking the CTA button. This can be for example:
-
-
-
-
Your webshop
-
A product page
-
A marketing page
-
-
Delivery Note (optional): If enabled, the system will show the QR code on the Delivery Note. To enable this feature, select the checkbox Show QR Code on the Delivery Note.
-
Parameters
In the Parameters tab, select which product parameters should be displayed on the landing page.

These parameters come from data recorded in Cannavigia during processes such as:
-
-
Cultivar and Quality information
-
Cultivation information from the plant batch
-
Primary Processing
-
Article specific information
-
Once all fields are completed, click Save to generate the QR code scheme.
Editing a Product QR Code Scheme
To edit an existing QR code scheme:
-
-
Go to Product Pass > Product QR Codes
-
In the QR Code schemes tab, locate the scheme you want to modify
-
Click the Edit button on the right side
-
The editing window will open with the same fields used during creation.
Update the necessary information and click Save to apply your changes.
Archiving and Restoring a QR Code Scheme
If a QR code scheme is no longer needed, it can be archived.
Archiving a QR Code Scheme
-
-
In Product Pass > Product QR Codes
-
Click the Archive button next to the scheme

-
Confirm the action
-
Archived schemes:
-
-
Cannot be used for scanning
-
Remain visible in the Archive tab

-
Can be restored at any time
-
Restoring a QR Code Scheme
-
-
Go to the Archive tab
-
Click Restore on the desired scheme

-
The scheme will become active again.
Public Company Profile
The Public Company Profile allows you to present your company information on the public landing pages accessed through QR code scans of all Product Pass QR Codes.

Visitors scanning your product QR codes can see details about your company, such as:
-
Company description
-
Video presentation
-
Website
-
Contact information
-
Location
⚠️ Note:
This page is different from your private Company Settings, which can be accessed from the user profile menu.
Editing the Public Company Profile
To update your public company profile:
-
-
Go to Product Pass > Public Company Profile
-
The profile page will open with editable fields
-
Some information is displayed automatically, while others can be optionally shown on the public page. Available fields:
-
-
Company Name: The company name displayed on the public page. This field is managed in Company Settings. Click Edit in settings to update it.
-
Company Logo: Displays your company logo on the public landing page. This can be updated via Company Settings. Click Edit in settings to update it.
- Cover Picture: A cover image displayed on the public company page. This image is also managed in Company Settings. Click Edit in settings to update it.
- Description: Add a short introduction to your company that will appear on the public company page.
- Founding Year: The year your company was founded.
- Youtube / Vimeo Video: You can add a video about your company by inserting a YouTube or Vimeo link.
-
Certificates: You can choose whether to display company certifications on the public page. Use the checkboxes to select which certificates should be shown.
-
Contact Information: You can choose which contact details will be displayed publicly. The following fields can be enabled or disabled using checkboxes:
-
-
-
-
Email
-
Address
-
Phone
-
Tax number
-
-
-
-
Website: Your company’s official website.
-
Google Maps URL: A link to your company location on Google Maps.
-
Imprint: Link to your company’s legal imprint page.
-
Saving Changes
After updating the information, click Save in the top right corner to apply your changes.
Previewing the Public Company Profile
You can preview how visitors will see your company profile.
To preview the page:
-
-
Go to Product Pass > Public Company Profile
-
Click the Preview button in the top right corner
-
A new browser tab will open displaying the public version of your company profile.
Further Products
The Further Products feature allows you to showcase additional products on your product landing pages. This can help promote other items from your product line and encourage cross-sales.
You can access this section via Product Pass > Further Products.
Further Products are fully defined within the Product Pass Feature and do not link to other Articles in the system.
Adding a Further Product
To add a new product:
-
-
Go to Product Pass > Further Products
-
Click + Product

-
The Add further product window will open.
Fill in the following information:
-
-
Product Name: Enter the name of the product.
- Description: Provide a short description of the product.
- Product Image: Upload an image representing the product.
- Link (URL): Insert a link directing visitors to the product page.
- Price and Currency: You may optionally specify the price and currency.
- Visibility: Enable the visibility toggle to display the product publicly.
-

Click Create to save the product.
⚠️Caution: Up to four products can be visible at the same time.
Editing Further Products
To edit a further product:
-
-
Go to Product Pass > Further Products
-
Click the Edit button next to the product

-
The editing window will open with the same fields used during creation.
Make the necessary updates and click Save.