Under Facility > Areas, all the different fields, greenhouses or rooms in your facility can be created and viewed. Each of these areas can be recorded, described, edited and archived.
In the Overview tab in the Areas page (Facility > Areas) you will see an overview of all your areas with the following headings: Name, Location, Plant batches and Action.
In this article, you'll find this list of topics that you can click on to quickly access the information you need:
Adding new areas
-
Click on green button +Area at the top right.
-
The Add area window opens up:
-
Enter a Name for the area.
-
Enter the amount of that area you would like to create.
-
Select a Location from the drop-down list.
-
Choose a Category for the area from the drop-down list: Cultivation, Drying, Storage, Harvest processing, Manufacturing, Sanitary (Toilets/showers), Laboratory, Office, Security.
-
Enter the Area dimensions (Length, width and height in metres)
-
Enter the Cleaning intervalfor the area by choosing a Start date and an Interval. Further fields for the exact specification of cleaning times will be visible in the window depending on the choice of the Interval.
-
Click on the green Save button to create your area.
-
Note: Locations must be individually recorded beforehand in Profile > Company Profile > Locations
Adding subareas
In the Area overview (Facility > Areas), you can create Subareas which will be sections of the related Area. To create a Subarea, follow these steps
- Click on Facility > Areas.
- Click on the +Subarea below the area you want to add subareas to
- Input information about the subarea
- Click save
![]()
Editing an area
You can edit each area by clicking the corresponding Action button:
- Click on the green Edit Area
- The Edit area window will open with the same fields you entered when creating the area.
- Record the necessary changes (e.g.: Name, Location, Cleaning interval).
Click on the Save button to record your changes and return to the Areas Overview page.
Generating a QR code label for an area
- Click on the Actions Button on the right-hand side
- In the All actions window click on Print Labels
- The QR code will be sent to the print center where you can download it in PDF format or print it directly and attach it to the entrance of the area.
Best practices: Attach the QR code to the entrance of the area so your employees on-site can use the Cannavigia mobile app to easily document actions in the area.

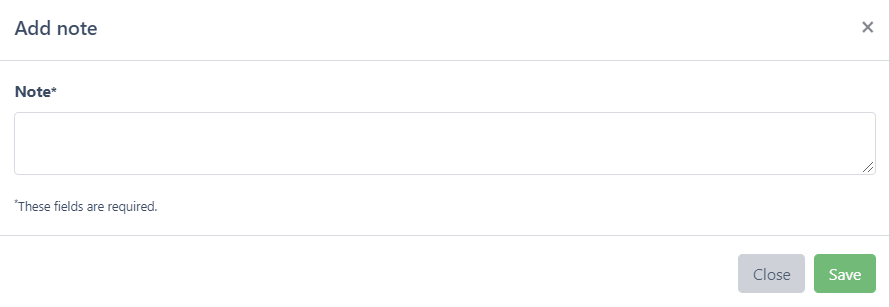
Adding a note to an area
- Click on the Actions Button on the right-hand side
- To add a note to an area, click on the green Add note
- Enter your note/comment about the area.
- Click Save to create the note and return to the previous page
Archiving and restoring an area
Archive:
- Click on the Actions Button on the right-hand side
- Click on the Archive button to archive the area.
- Confirm the archiving of the area by clicking
Note: Archived areas are still visible in the when the option Show archived is selected. Areas that have other entities inside them (plants, equipment, etc.) cannot be archived. Make sure to remove all entities associated with the area to a different area before archiving an area.
Restore:
- Make sure the Show archived toggle is selected
- Click on the restore button on the right-hand side
- The area can now be seen again as an active area.
Accessing areas
To see the detailed view of each area, click on the name of the area on the Areas Overview page.
You will be brought to the detailed area page:

In the tabs, you will find all information about the various objects and actions that have been or are being performed in the room.